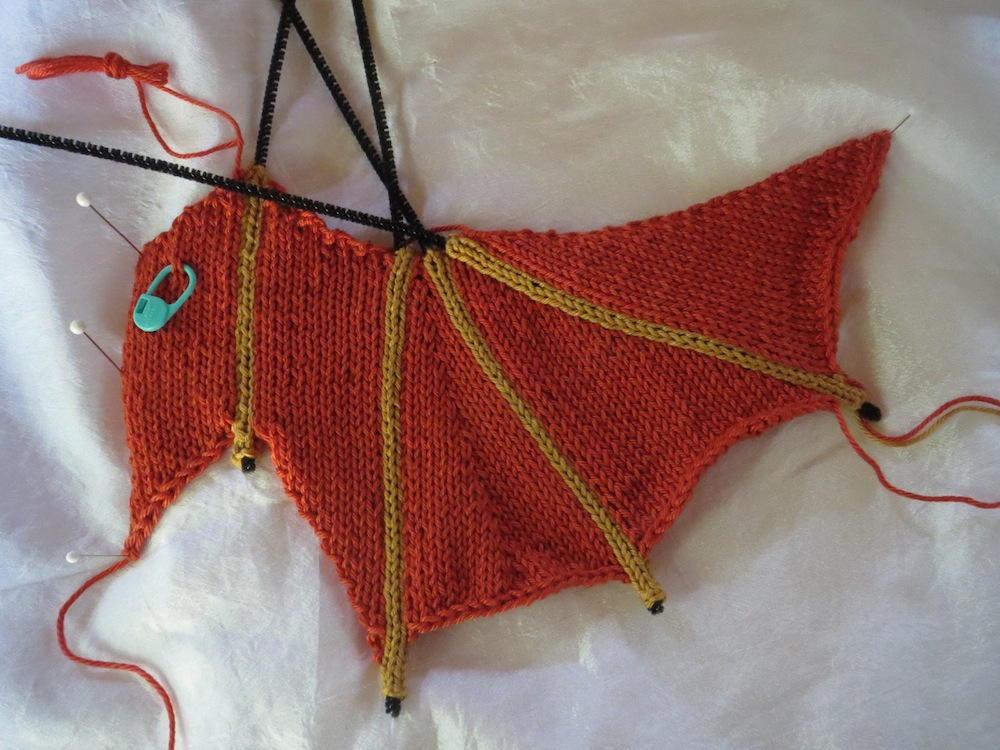
Setting aside the completed wings, it's time to stitch the front legs, leaving them on the needles to sew onto the body when the body is stitched to that point.
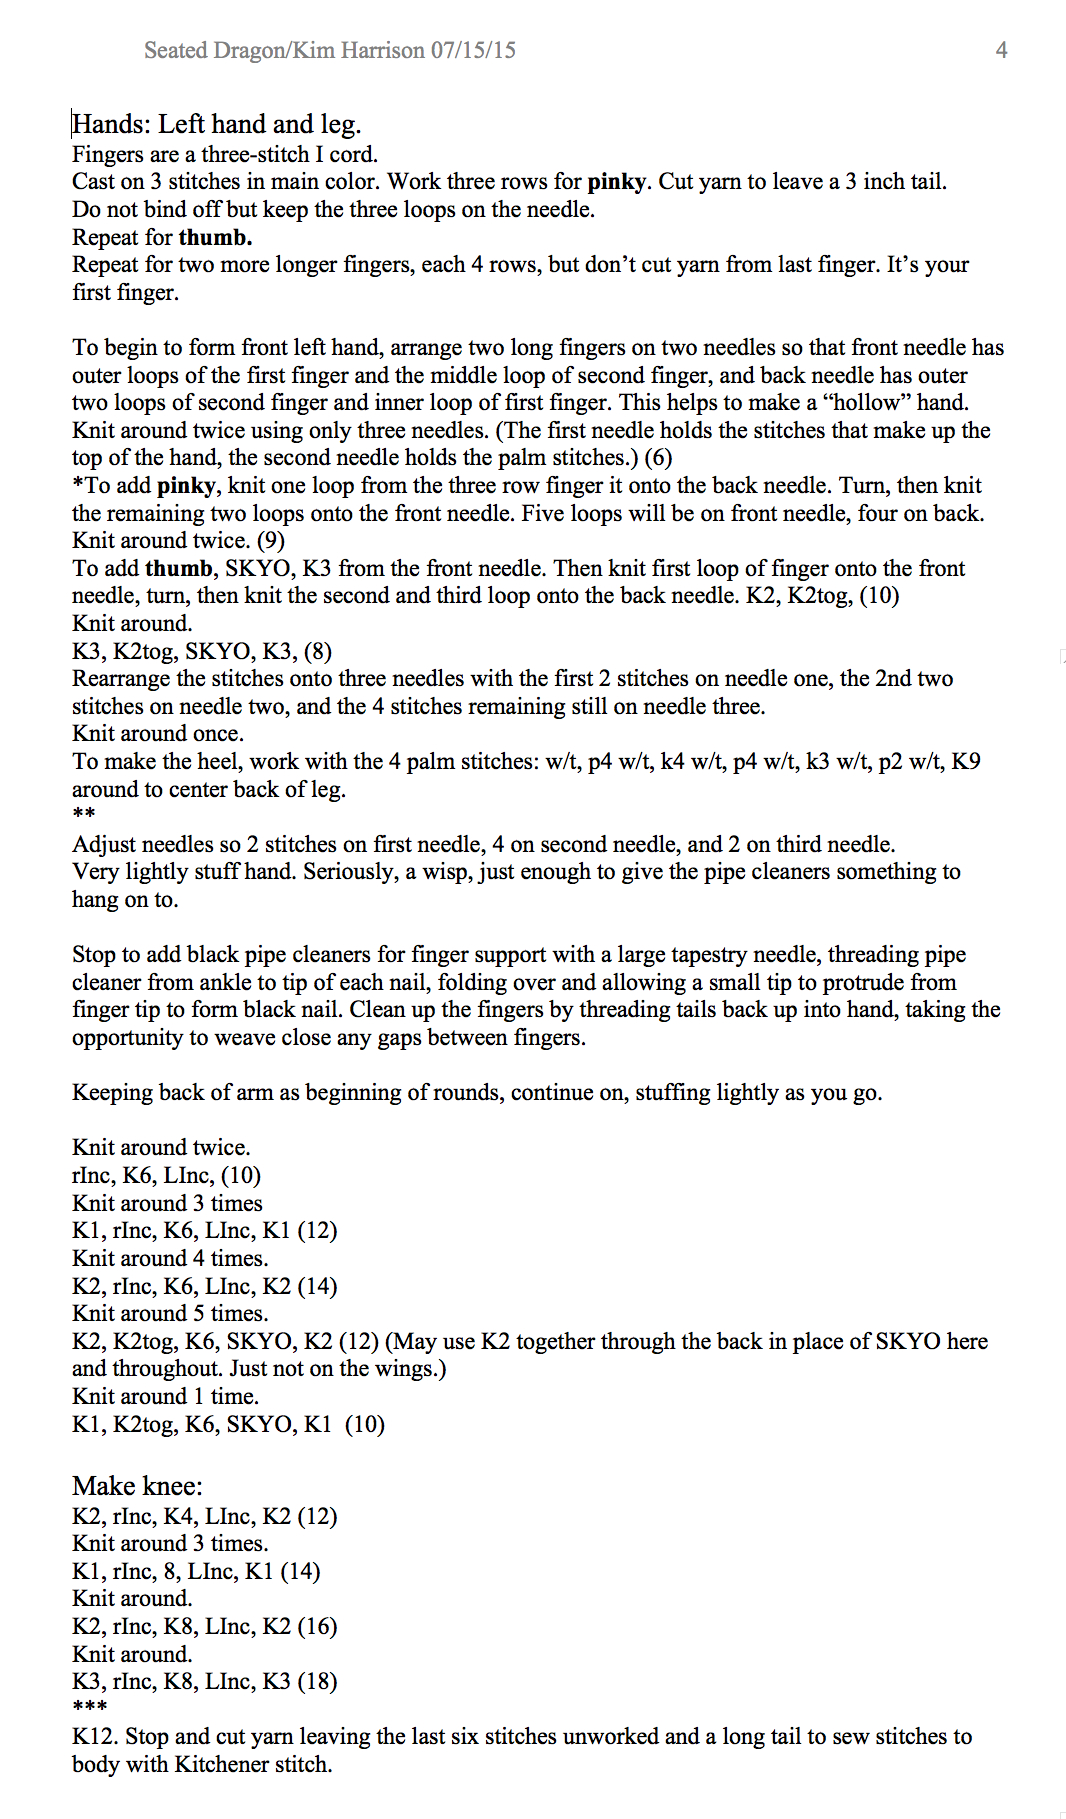
I will admit that the fingers and toes seem very fidgety with lots of tails that need to be stitched back into the work, but the tails provide a good way to tighten any holes you might have in your hands and feet, and if your work stitches up "clean," then it's easy enough to just run them back into the hands and arms and trim. To help keep things similar, the number of stitches you should have on the needles is indicated in parentheses at the end of many of the steps. As before, I'll give you the down and dirty directions first, then the explanation below with the video supplemental's.
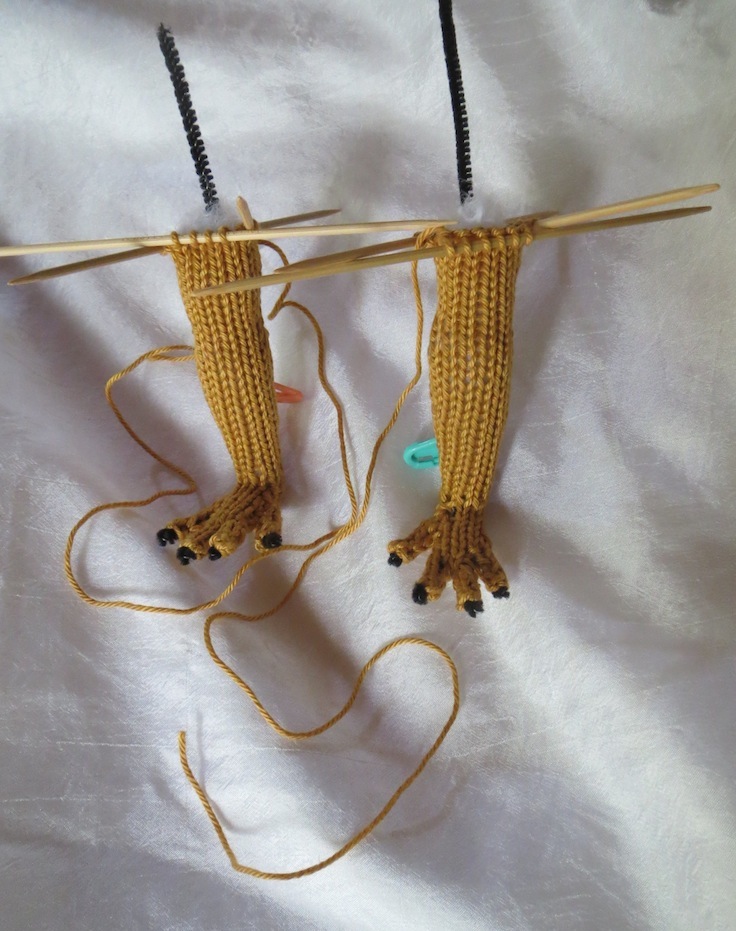
This is what you should end up with.
Instructions:
Starting the hand and assembling the fingers:
Turning the heel:
Stuffing and pipe cleaners: Make sure you leave one pipe cleaner long enough to attach arm to body with.
Instructions for right front leg are very similar to the left front leg.
